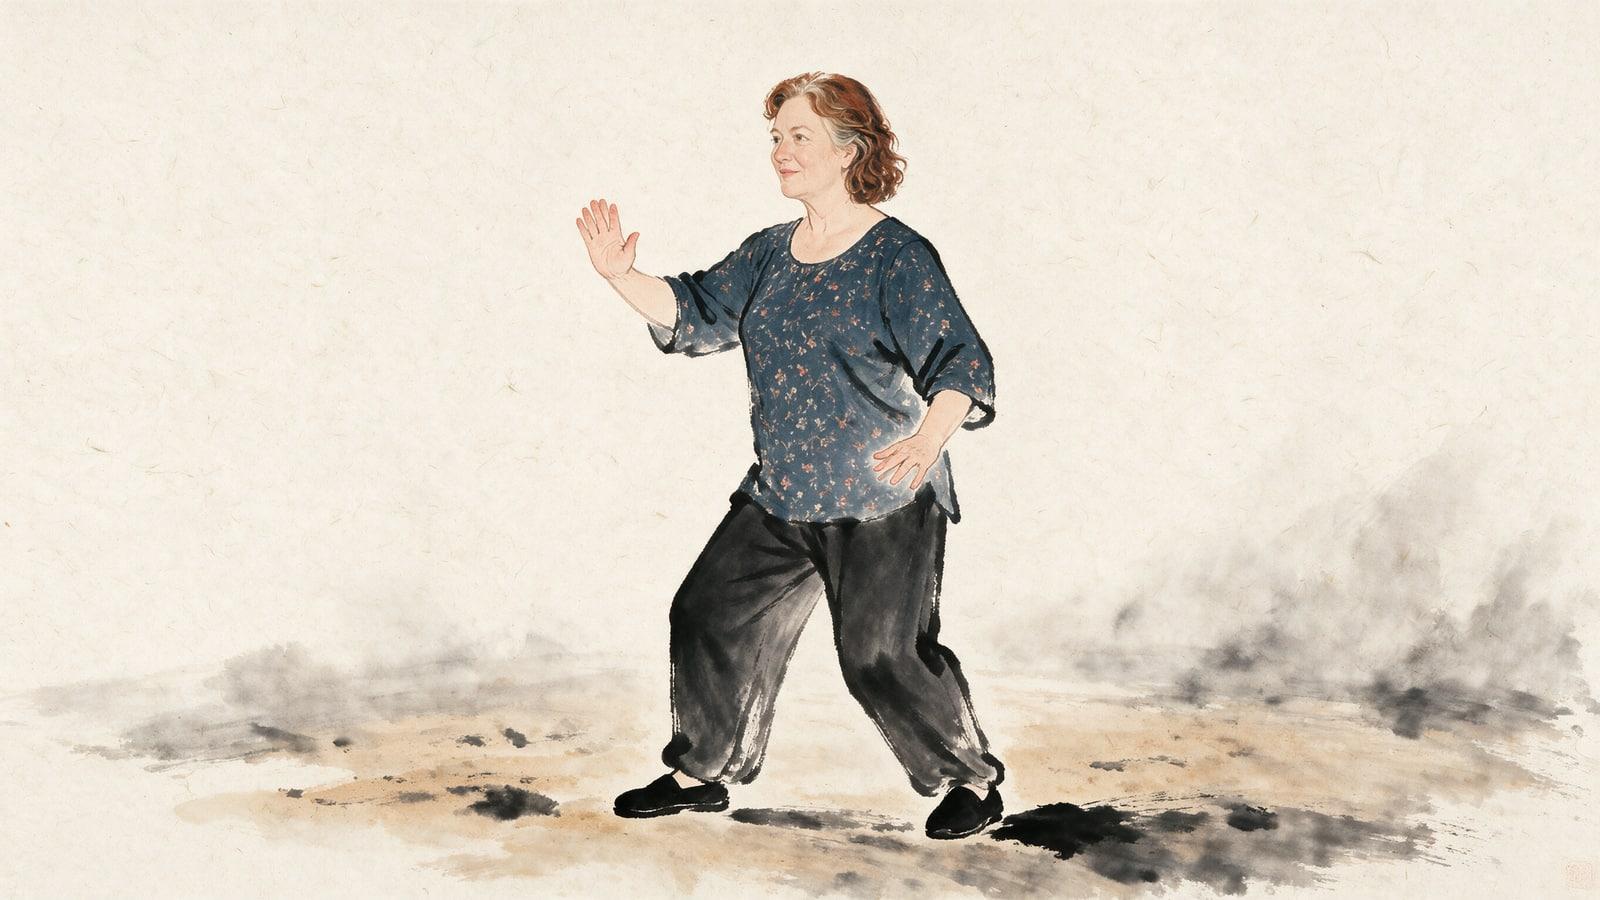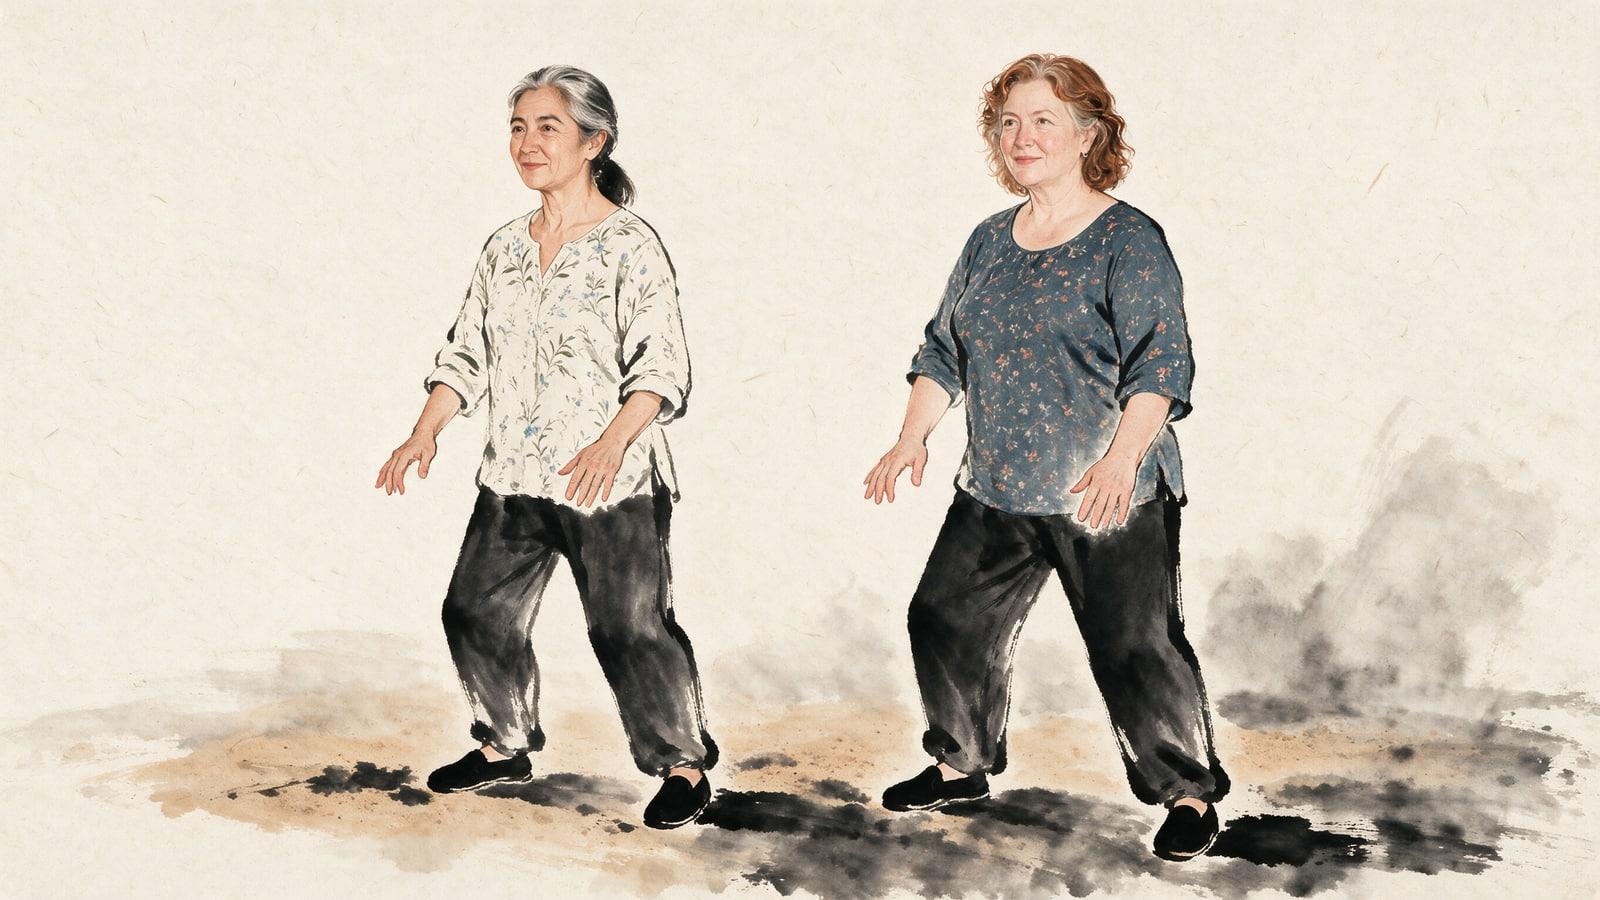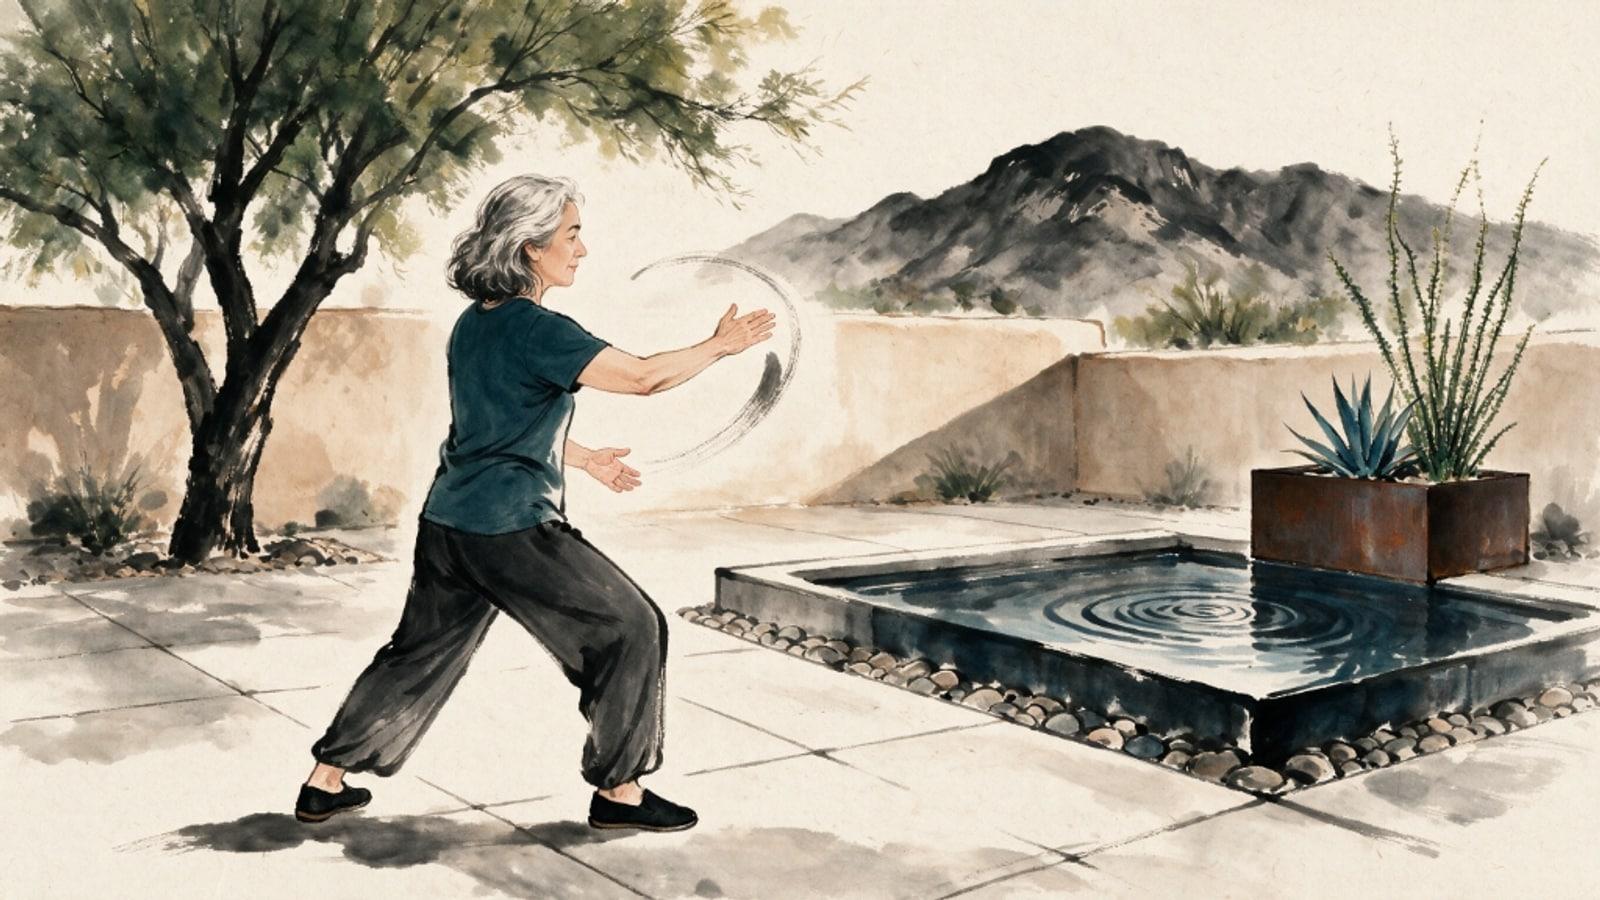

No one wakes up with every joint already feeling like warm silk, especially on a crisp Tucson morning or when living with stiff knees or tight shoulders. That is why every class at Old Pueblo Tai Chi begins with a calm, unhurried 10-to-15-minute head-to-toe joint warm-up before we take our first Tai Chi step.
Drawing from traditional Qigong joint-opening sequences and Dr. Paul Lam’s Tai Chi for Health warm-up structure, this simple routine bathes each major joint in natural joint lubrication from the neck down to the ankles. Every movement follows our studio’s 70% Comfort Rule, staying well inside your easy, pain-free range.
☯️ Opening the Joints Without Strain
In traditional Chinese movement, warming up is known as Opening the Joints (Kai Jie 開節). The body’s major joints are never treated like rusty hinges that need to be forced or stretched aggressively. Instead, they are viewed as quiet gateways through which posture, breath, and circulation flow.
“Creating a healthy body starts with slow, gentle, repetitive exercise that targets and releases tension in the soft tissues and nerves.”
— Paul Cavel, The Tai Chi Space
When a joint is pushed to the very end of its range, the surrounding muscles tighten up to protect it. When you move a joint slowly within seventy percent of its comfortable range while breathing softly, the joint relaxes and opens naturally.
🌿 How It Feels in Movement: The 6-Zone Head-to-Toe Sequence
Practice three to five slow, unhurried repetitions in each zone, working smoothly from the top of your body down to the floor:
1. The Neck (Gentle Chin Glides and Soft Side Turns)
- Gathering the Chin: Float both hands up toward your face as you inhale, then gently draw your chin half an inch back to lengthen the back of your neck. Float your hands down smoothly on the exhale.
- Looking Softly Left and Right: Turn your head slowly to look forty-five degrees to the left, return to center, and look softly to the right. Avoid tipping your head steeply backward or rolling your neck in a tight circle.
2. The Shoulders (Soft Shoulder Rolls and Opening the Chest)
- Forward and Backward Shoulder Circles: Let your fingertips hang loosely by your sides. Draw three slow, smooth circles forward and three backward with your shoulders, feeling your collarbones widen.
- Gentle Arm Floats: Float your arms out to the sides and back toward the chest to warm the shoulders without lifting above shoulder height.
3. The Spine (Carrying the Moon and Gentle Waist Turning)
- Spinal Lengthening: Hold an imaginary beach ball in front of your belly. Inhale as one palm floats softly up to forehead height while the other presses gently down beside your hip, lengthening your spine.
- Waist Rotation: Keep both knees pointing comfortably over your toes and turn your waist gently left and right as if your arms are floating in warm water.
4. The Hips (Softening the Hip Creases and Shifting Weight)
- Side-to-Side Weight Pouring: Stand with your feet shoulder-width apart. Pour most of your weight into your left leg by softening your left hip crease, then pour smoothly into your right leg.
- Gentle Forward-and-Back Rocking: Place one foot half a step ahead and rock your weight smoothly forward and back to warm the hip sockets.
5. The Knees (Warm Palms Over Kneecaps, Zero Knee Twisting)
- Warming the Knees: Rub your hands together until the centers of your palms feel warm. Rest your palms lightly on your thighs just above your kneecaps, then gently bend and straighten your knees two inches straight ahead over your toes. We skip deep closed-leg knee circles that twist the knee cartilage.
6. The Ankles and Feet (Heel-Toe Taps)
- Heel-Toe Rocking: Settle your weight into one standing leg, resting a fingertip on a chair back whenever helpful. Gently touch your opposite heel, then the ball of your foot, to the floor in front of you to wake up your ankles and arches before stepping.
🥋 Studio Cue: If a joint clicks or feels stiff, make the movement smaller and slower, never bigger or harder. Small, smooth motions invite your body to trust the movement.
🪑 Gentle Adaptation: Every single one of these six warm-up zones can be done seated in a sturdy chair or standing with one hand resting lightly on a chair back. In our Tucson classes, chairs are always set out around the room so you can sit for part or all of the warm-up whenever your body asks for it.
✨ Key Reflections to Carry With You
- Top-to-bottom order calms the mind: Moving in order from your neck down to your ankles means you never have to wonder what to warm up next.
- Protect your neck and knees: Avoid tipping your head steeply back or twisting your knees sideways, keeping every movement smooth and aligned.
- Five minutes at home counts: Doing just two gentle repetitions per joint in your kitchen while morning tea steeps makes the rest of your day feel steadier.
Old Pueblo Tai Chi — Traditional Yang & Sun Style Classes
Culture Connects Studio • 3000 E. 22nd Street, Tucson, AZ 85713 • https://oldpueblotaichi.com
Questions about classes? Contact Dan Kimball at dan@oldpueblotaichi.com